Making an intaglio print
The process of MAKINg an intaglio print!
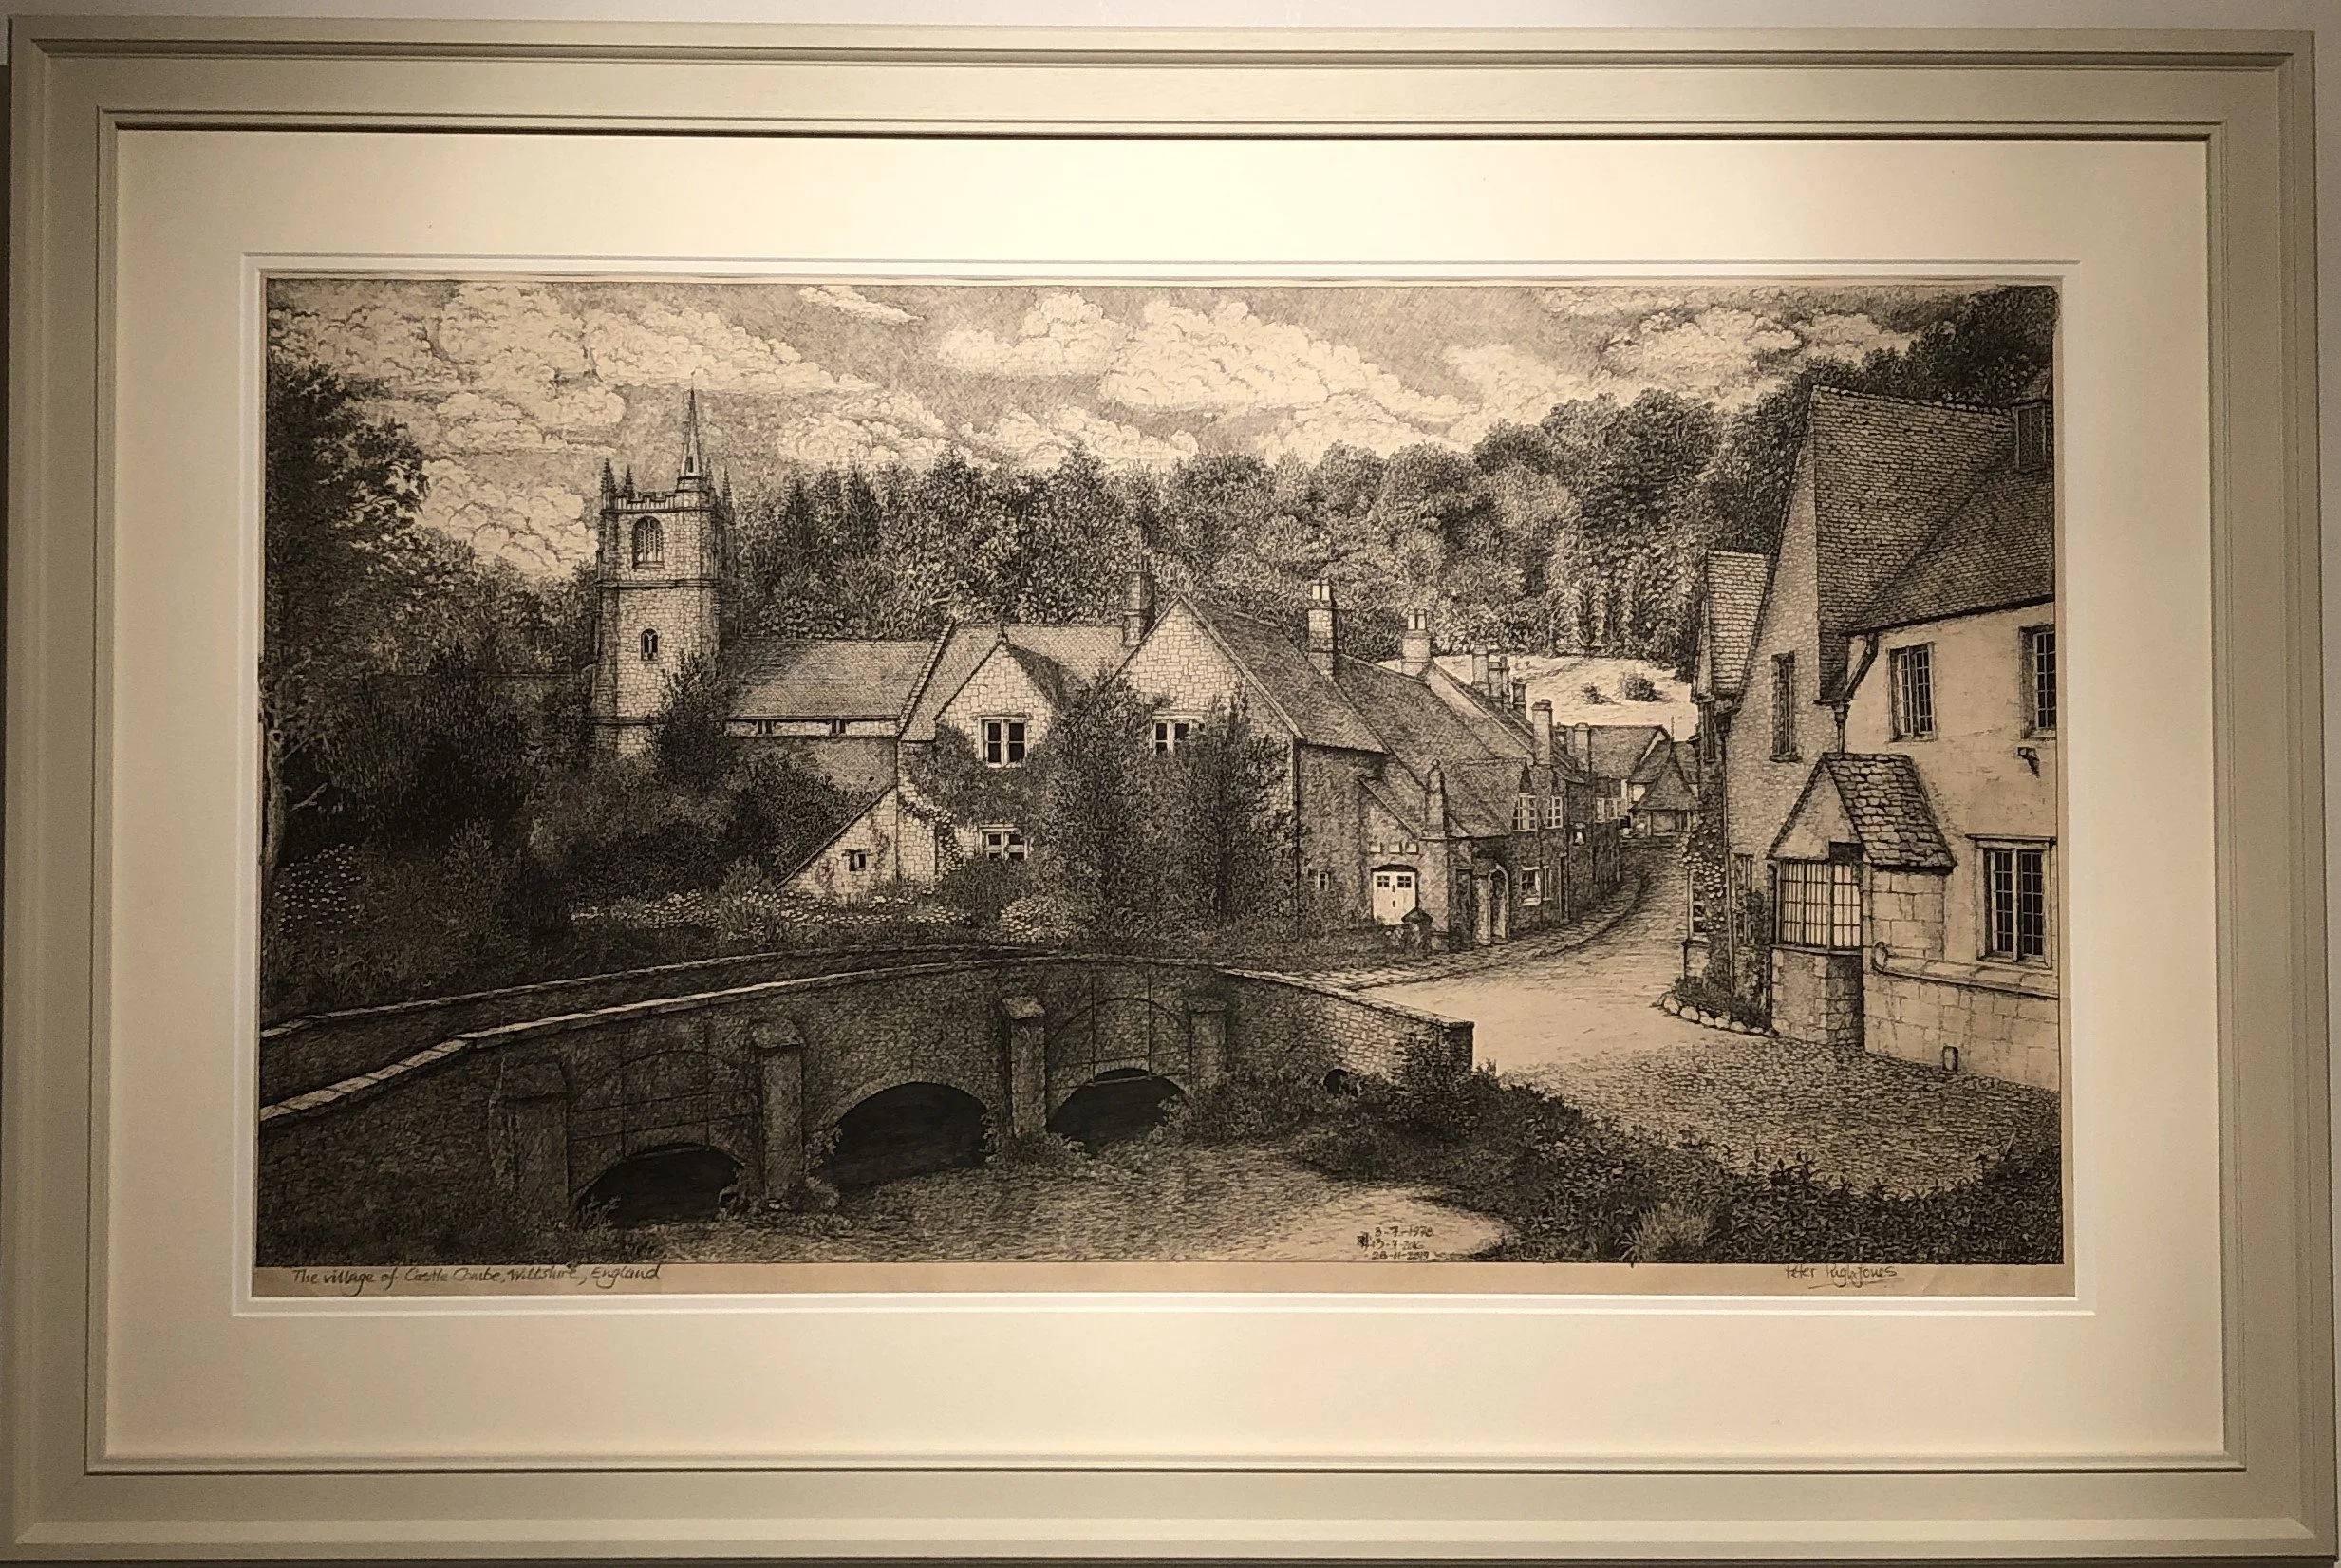
First step, and probably the most important (!), is to complete your drawing (or photograph). My original drawing of Castle Combe, is shown above.
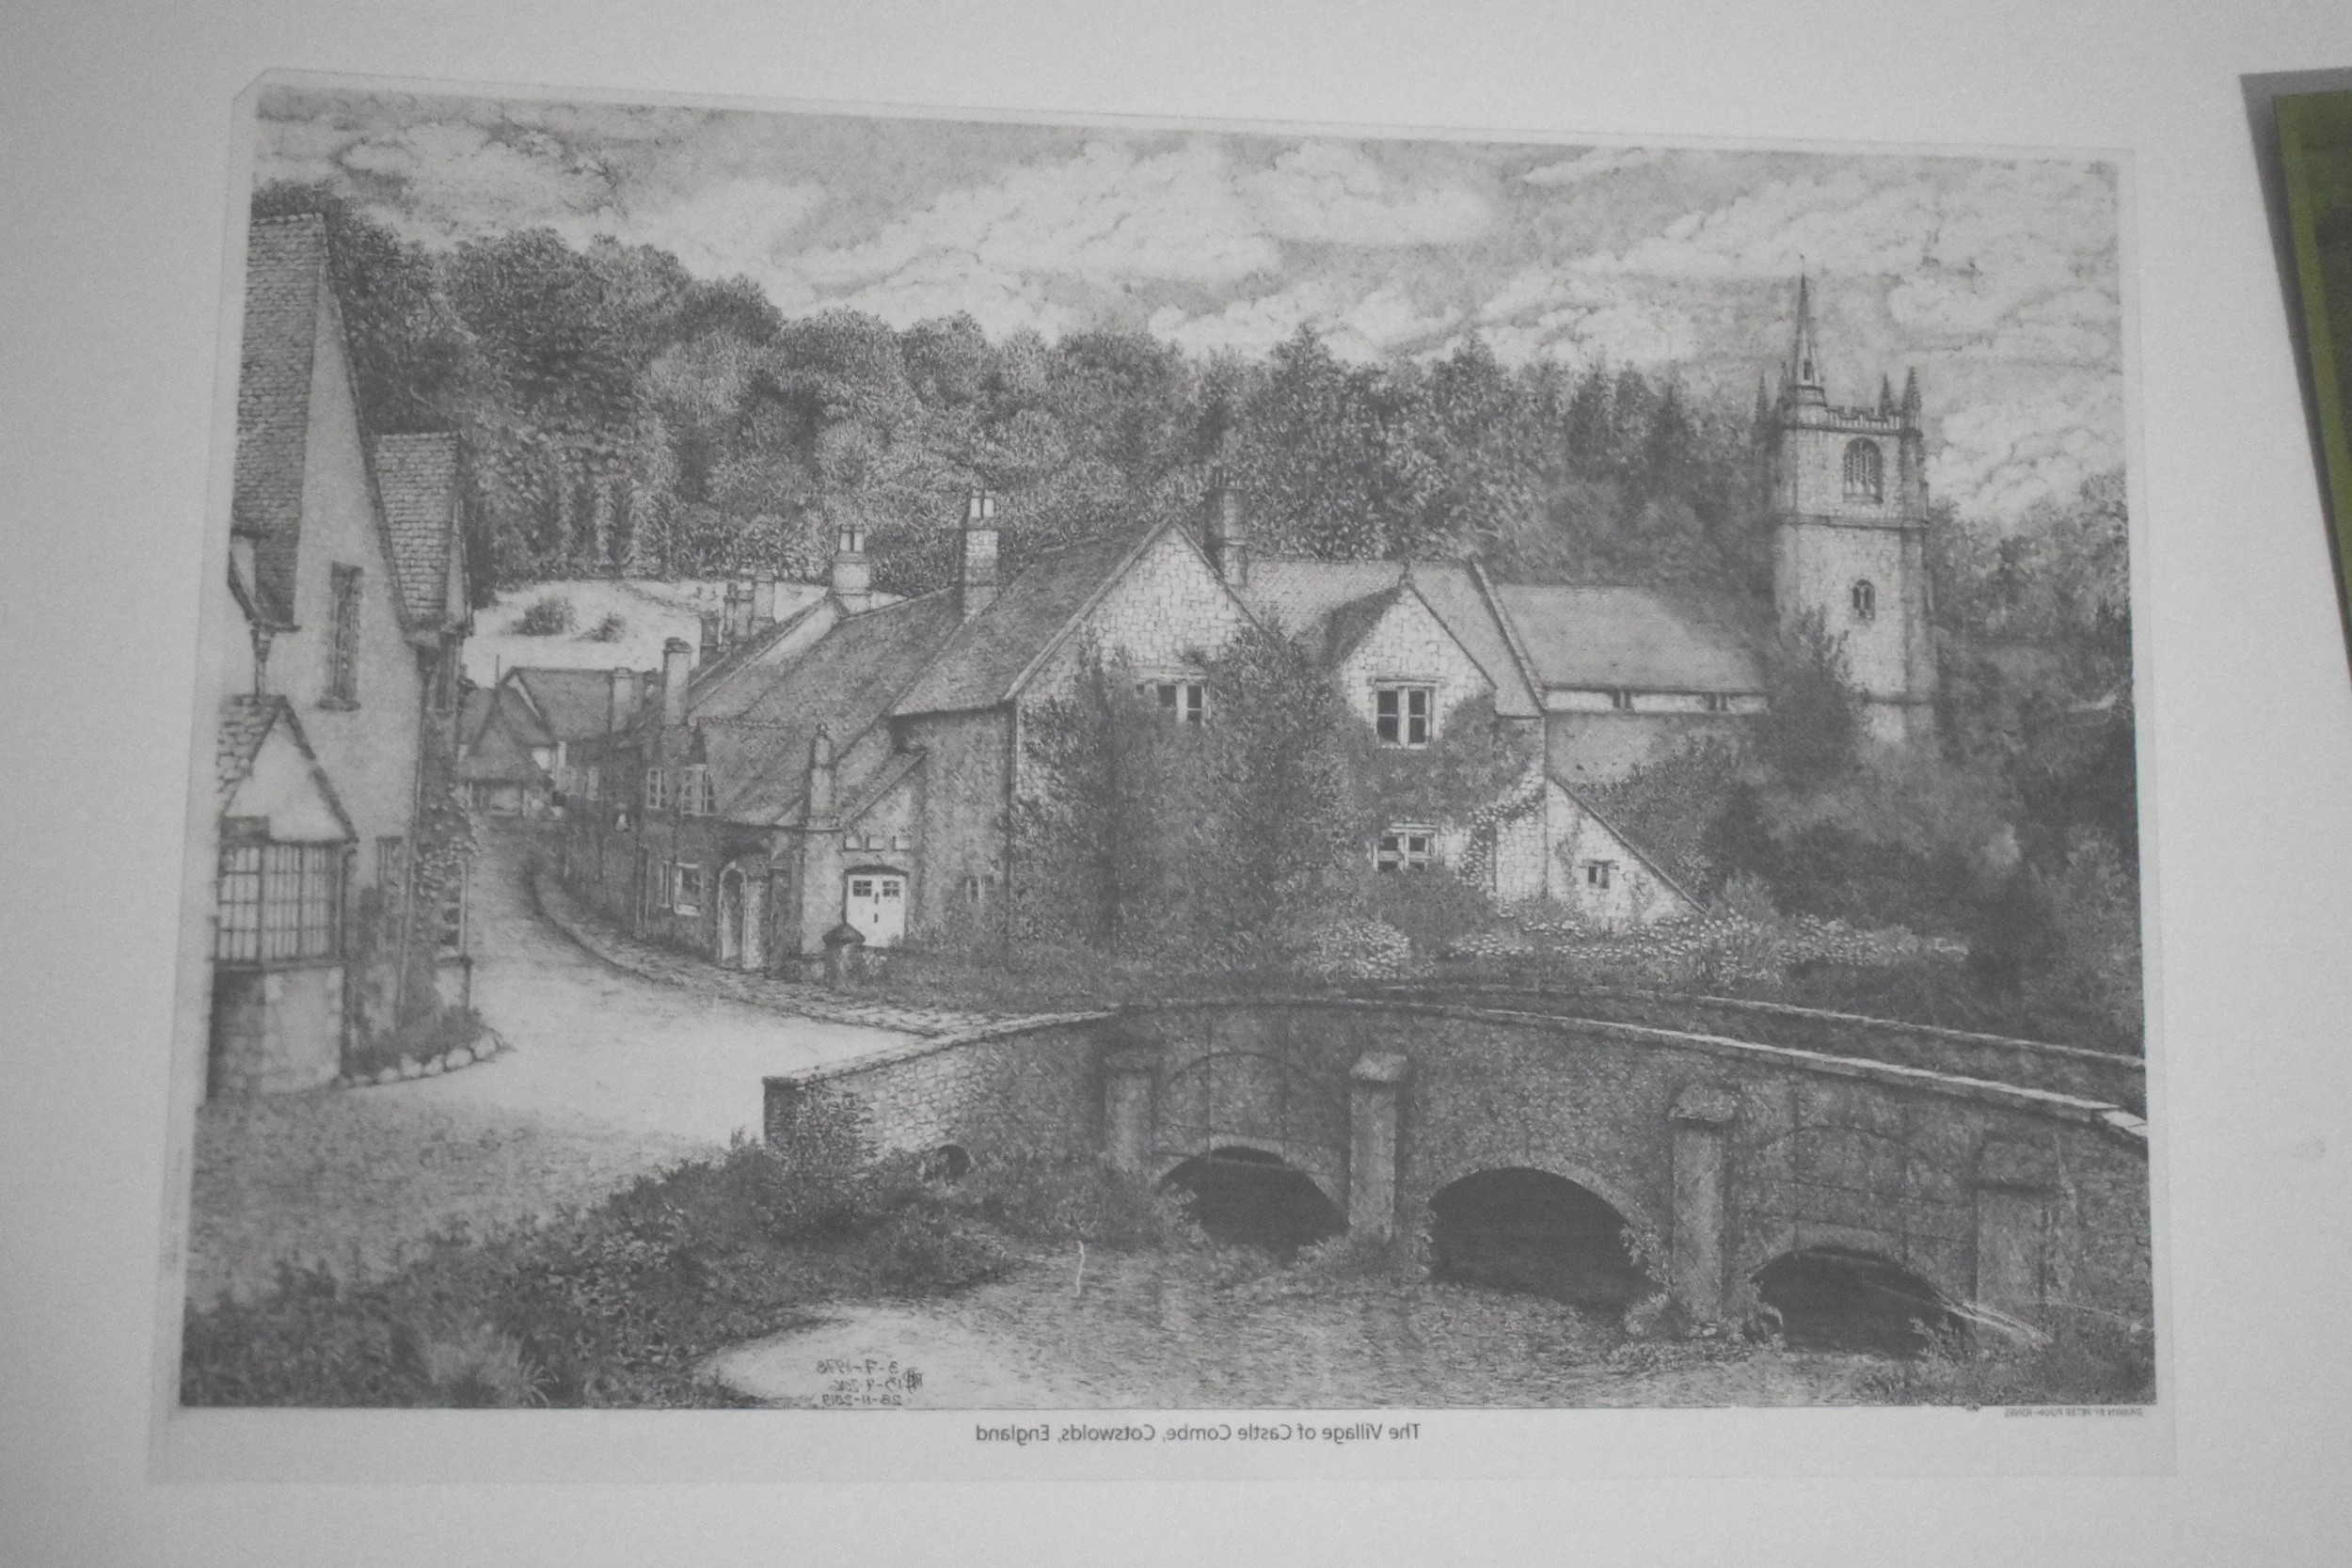
Step #2 is to reduce the size and transfer your drawn image onto a transparency or acytate sheet, as shown above
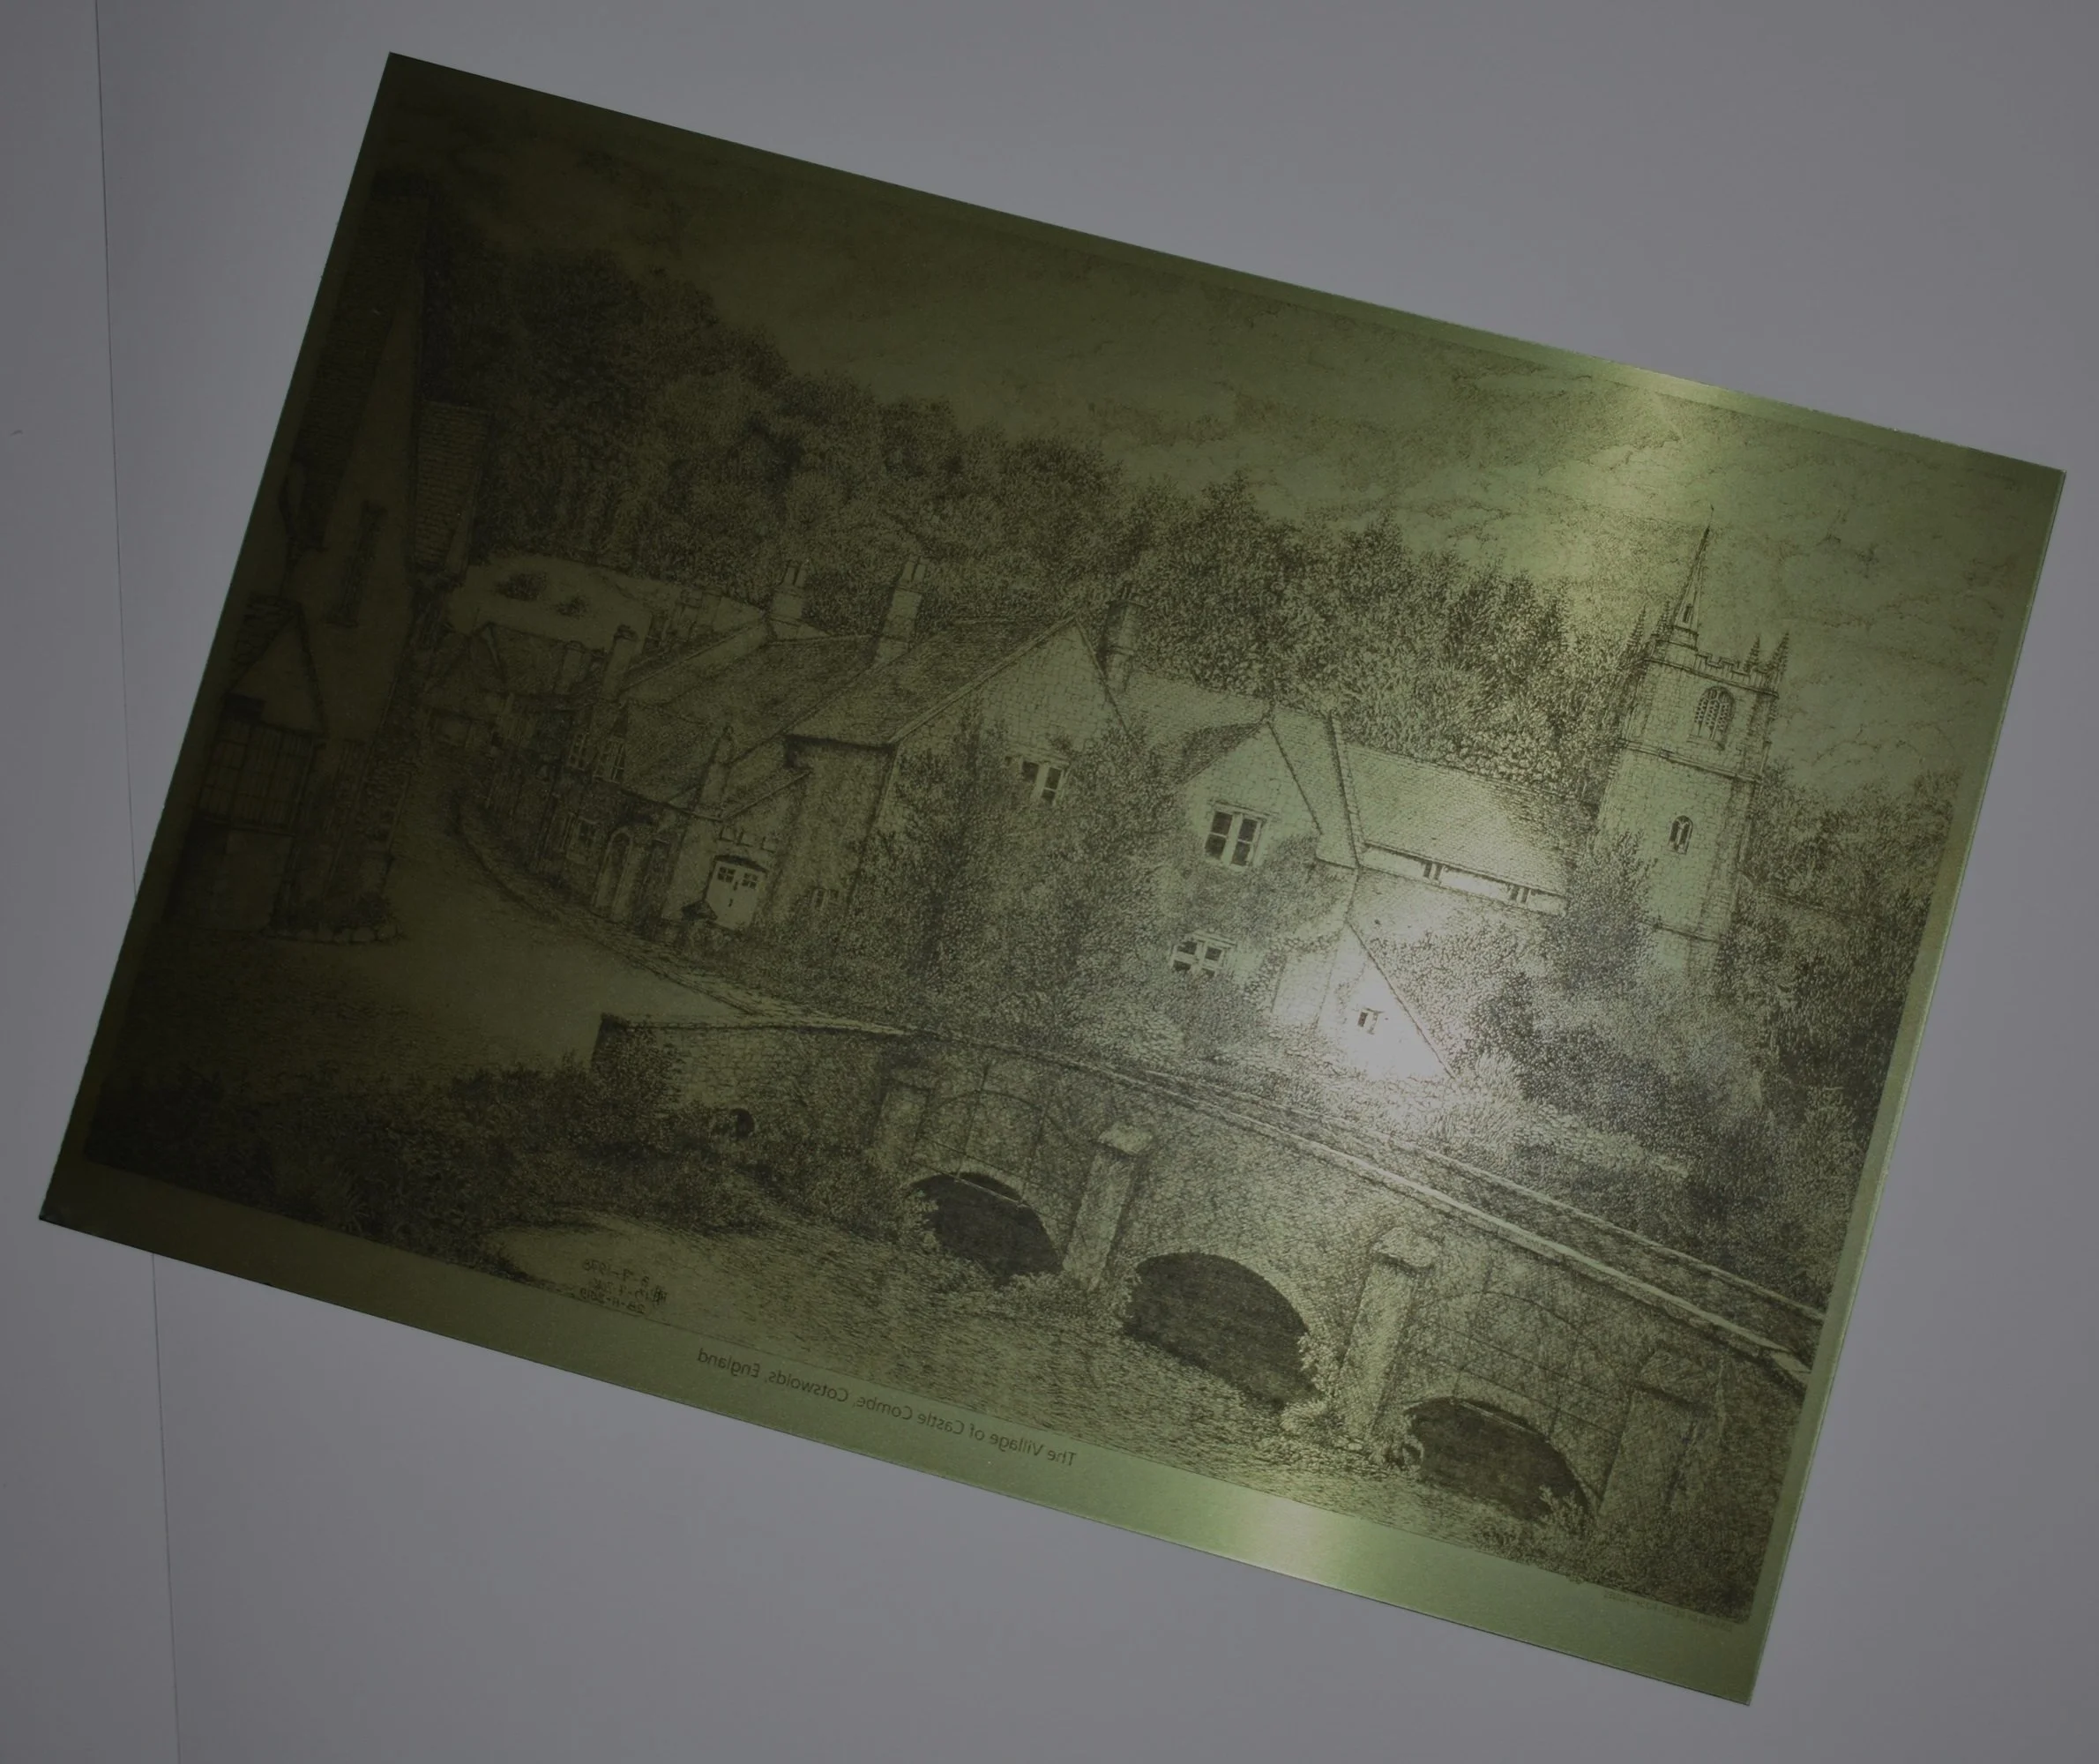
Step #3 is to take a (A4 size) photopolymer plate which is a pre-made steel or zinc sheet laid with a UV Light sensitive film. The transparency, which has your image, is laid on top of the plate, (being careful to reverse the image!!), and then placed in a UV Light Box for approx 2 mins, where the image will be ‘burnt’ into the gel. Then wash the image in water and dry the plate.

Step #4 is the exciting bit!
Your plate must be inked with a special intaglio (water or oil) based ink and the ink rubbed into the image. Take off any surplus ink and prepare your paper by soaking and partially drying and place on the bed press on top of your plate. Run through the rollers and when it comes out the other end you have your intaglio print!